Wolf Pumpkin Carvings Made Simple for Halloween

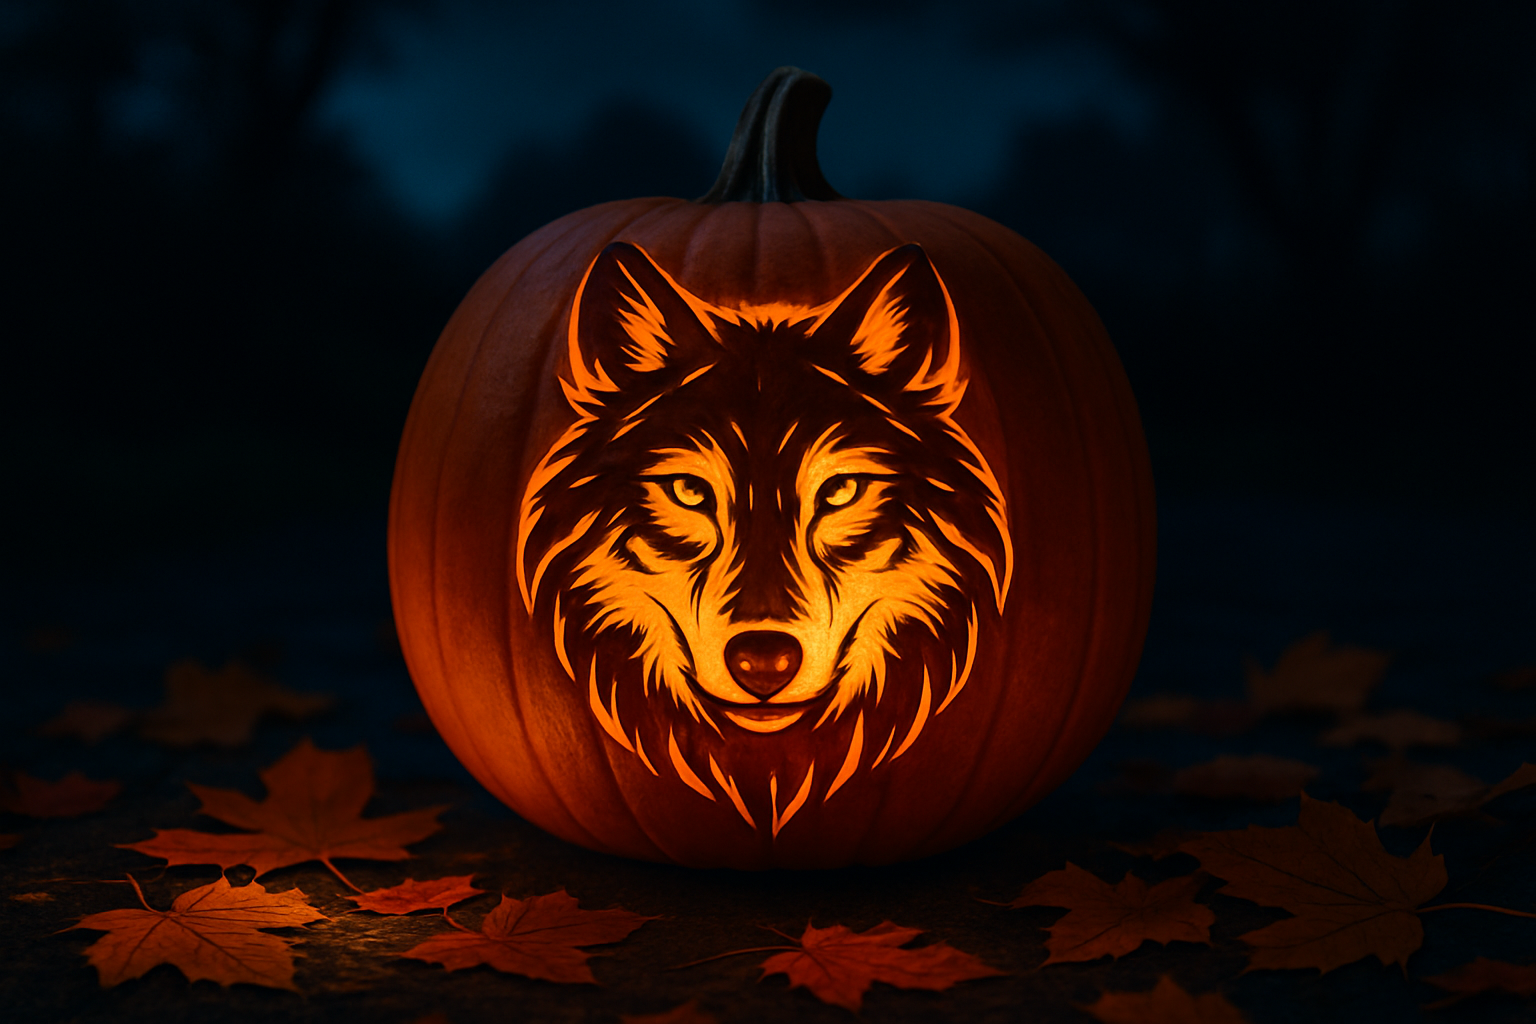
Wolf pumpkin carvings have truly taken off as a Halloween favorite, mixing spooky vibes with a splash of bold creativity. Whether it’s the dramatic silhouette of a wolf howling at the moon or a finely detailed wolf face carved right into a pumpkin, these designs grab attention and never fail to stop people in their tracks on any doorstep.
Wolf designs have long been a favorite because they capture the perfect mix of mystery and untamed wilderness plus the eerie vibe of Halloween night. This guide will take you step-by-step through carving your own wolf pumpkin. It covers everything from choosing the perfect pumpkin that feels right to adding intricate details that make your creation pop.
How to Pick the Best Pumpkin for Your Wolf Carving (Because Not All Pumpkins Are Created Equal)
Choosing the right pumpkin really makes all the difference when it comes to a standout wolf carving. Aim for ones with firm skin and a nice, flat surface that can comfortably fit your design.
- Pick a pumpkin with firm thick skin—these types usually hold detailed carvings well
- Aim for medium to large pumpkins so you have plenty of space to let your creativity run wild
- Choose pumpkins with an even smooth surface because it helps your design stand out and keeps everything looking sharp
- Avoid pumpkins with blemishes deep ridges or soft spots since those can make carving difficult
Rounding Up All the Must-Have Tools and Materials
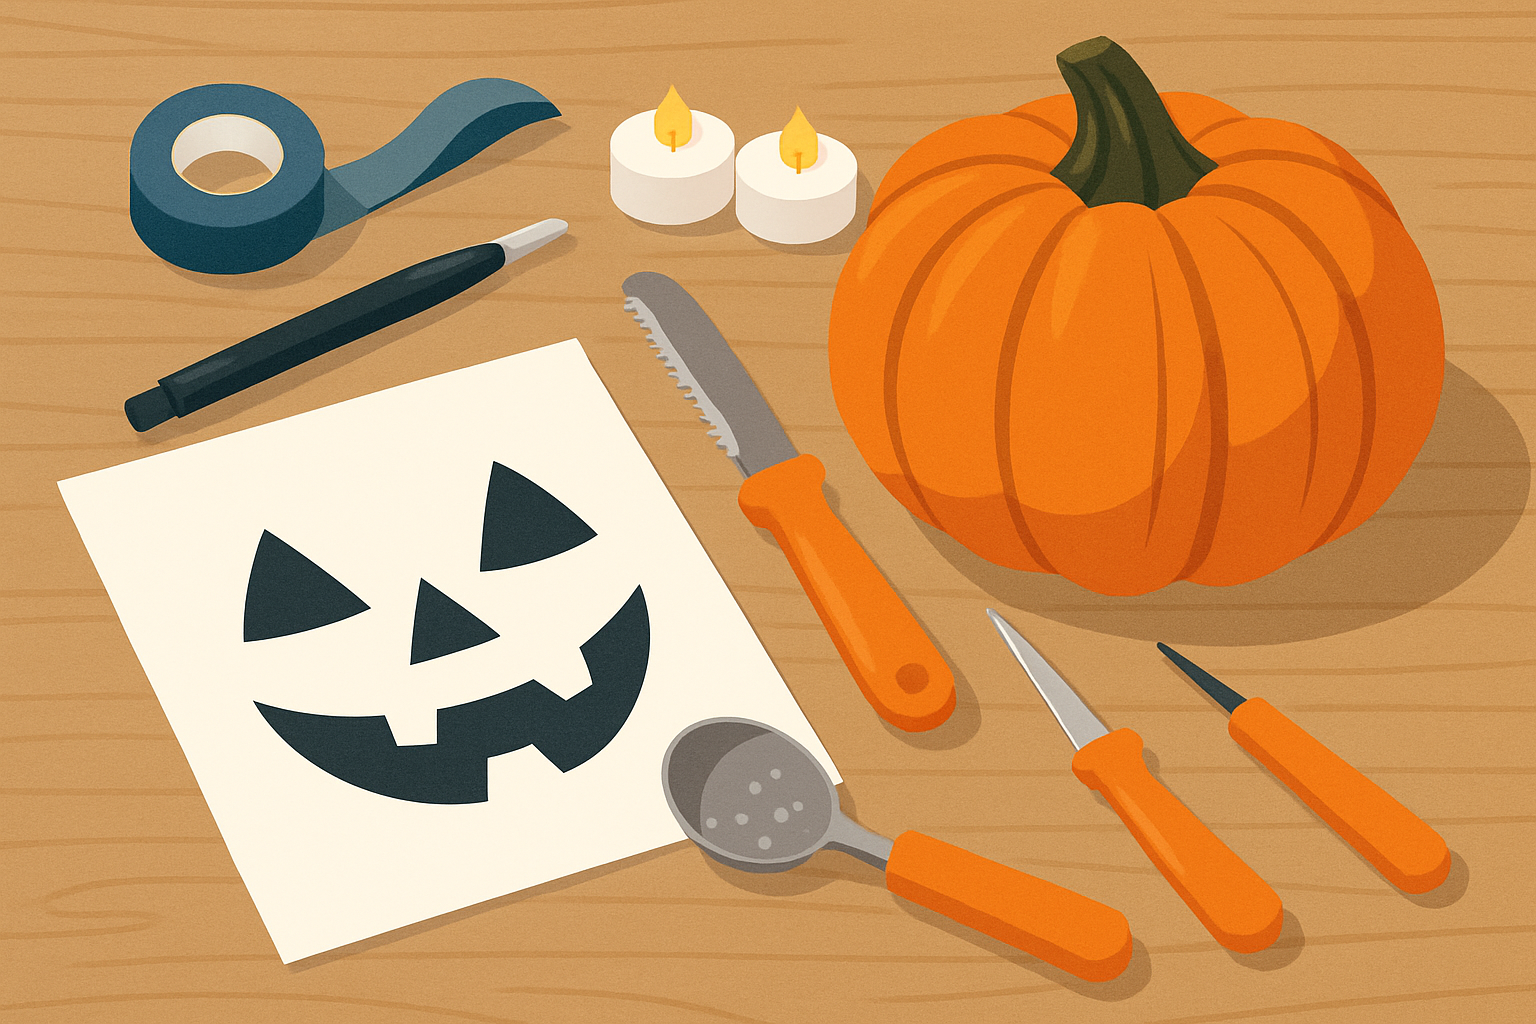
Using the right tools really makes all the difference when it comes to carving your wolf design with both precision and safety in mind. Whether you’re reaching for those specialized pumpkin knives or gathering supplies to transfer your stencil, having everything prepped ahead of time tends to make the whole carving process smoother.
- Pumpkin carving knives with serrated edges that make clean cuts easy
- Small detail knives or X-Acto blades perfect for nailing fine lines on the wolf’s face without breaking a sweat
- A scooper or large spoon to clear out seeds and pulp effortlessly because who wants a messy pumpkin?
- Stencil or tracing paper to transfer your wolf design onto the pumpkin easily, saving you from doing it freehand
- Masking tape to keep the stencil firmly in place while you focus on the fun part
- Permanent markers for outlining or fine-tuning your design and adding extra flair
- An LED light source to safely light up your masterpiece with no flames or fuss, just glowing goodness

Essential tools and materials neatly arranged for wolf pumpkin carving.
How to Pick or Dream Up the Perfect Wolf Pumpkin Carvings Design
When it comes to picking a wolf pumpkin design you could go old school with printable stencils or roll up your sleeves and craft your own by hand. You could also dive into one of those nifty digital apps that make the whole design process a breeze.
- Downloadable online templates provide ready-made patterns with clean crisp lines that make getting started a breeze
- Custom sketches let you add your own personal touch to the wolf but usually require some drawing skill, nothing a steady hand cannot handle
- Silhouette images focus on bold striking shapes and are simpler to carve, perfect if you like to keep things straightforward
- Close-up photos of wolf faces often spark inspiration for detailed lifelike carvings that capture the creature’s wild spirit
It’s a smart move to stick with simple designs that feature bold blocks of dark and light—nothing too fussy. As you get more comfortable, you can slowly crank up the complexity by turning those detailed lines into bigger shapes or dialing down the wolf’s fur and facial features to make carving a bit less of a headache.
Getting Your Wolf Design Ready and Transferring It Over to the Pumpkin
Give the pumpkin a good wipe-down with a damp cloth to remove any dirt and create a smooth canvas for your masterpiece.
Carefully carve off the top or bottom using a sharp knife. This will allow you to scoop out seeds and slip in a light later on.
Scoop out every last seed and stringy bit. Don’t hesitate to thin the walls a little if you want to make carving easier.
Make sure to dry both the inside and outside thoroughly with a towel because a dry surface is key for your stencil to stick well.
Pin down your stencil or design onto the pumpkin, smoothing out any wrinkles so it lies flat.
Trace the design onto your pumpkin with a marker or poke holes along the lines to create a handy dotted guide. Either way, you’ll be set up for some precise carving fun.
Nail a sharp design transfer by pressing the stencil down nice and smooth leaving no gaps behind. If you’re using the poke-hole method keep those holes close enough to form crisp lines but not so close that the pumpkin’s skin feels like it’s about to fall apart. When tracing a fine-point permanent marker is your best buddy for clean and precise outlines.
A Clear Guide to Carving a Wolf Pumpkin, Step by Step No Howling Needed
Always put safety first as you start carving, keeping a sharp eye on those traced lines. Start off by cutting away the big background chunks to reveal the rough shape of the wolf. Then, take it slow and steady as you zoom in on refining the facial features and fur details—patience really pays off here.
Roughly carve out the wolf's overall shape by carefully cutting away the larger pumpkin sections around your design.
Next, go after the bigger interior areas that define the wolf's main facial features and body contours.
Then, take some time to refine the edges and shapes by carving the smaller pieces. This helps bring out the fur’s natural direction and subtle profile lines.
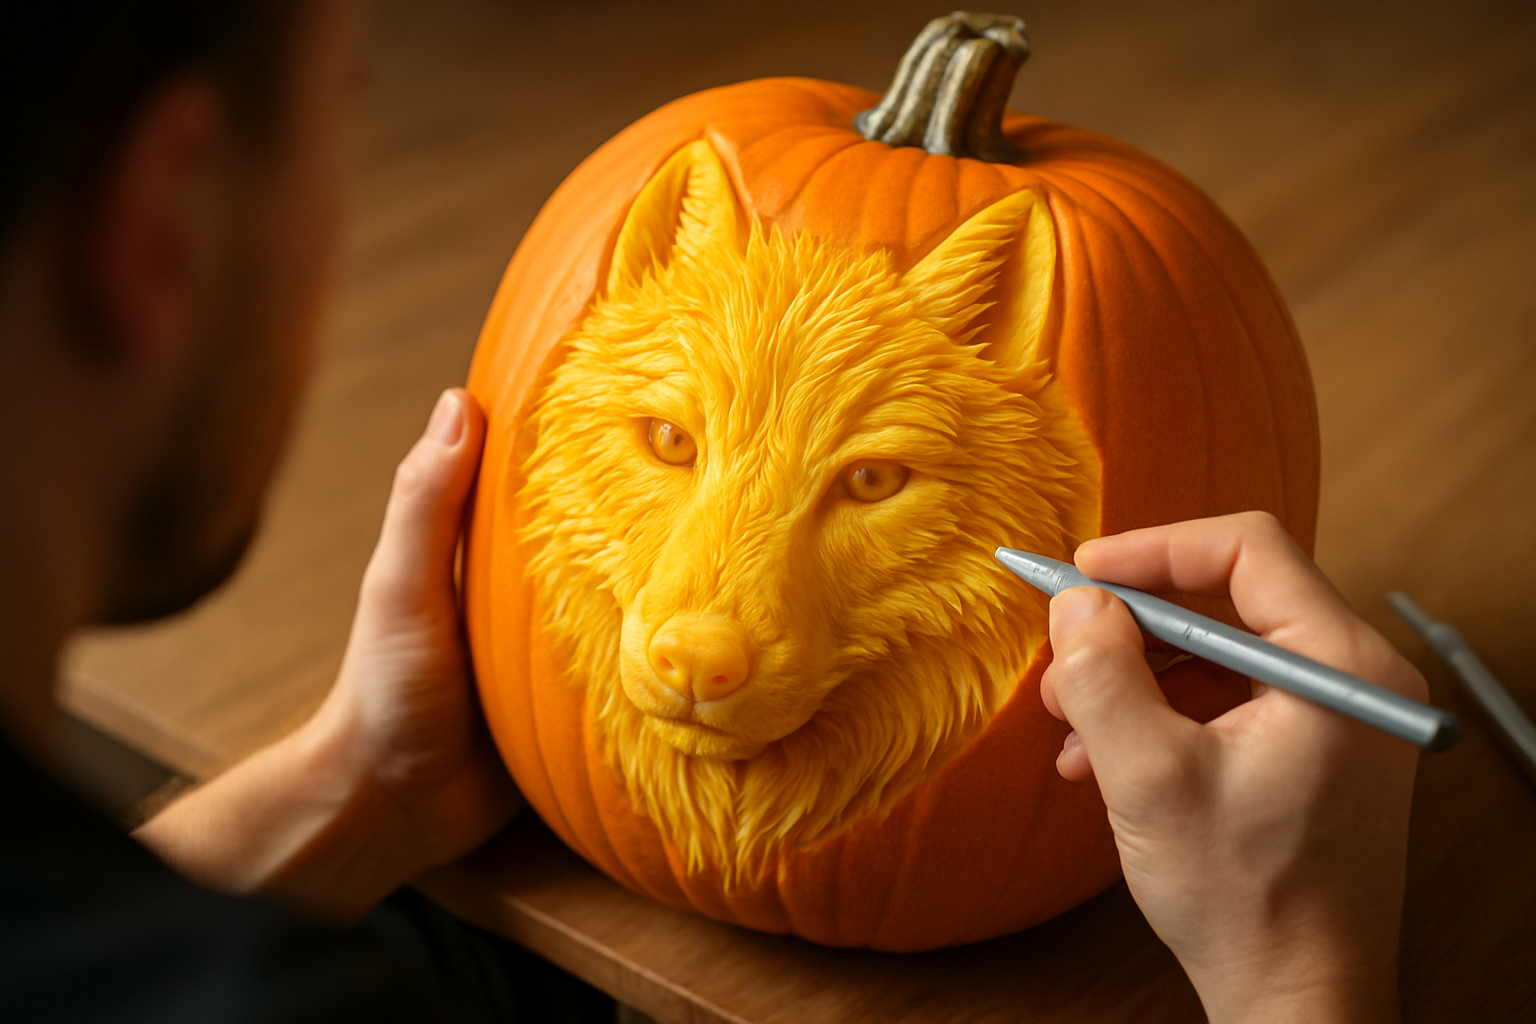
Use detail knives to tackle intricate features like the eyes, nose and texture of the fur—this is where the magic happens so patience pays off.
Finally, smooth out rough edges and add last finishing touches with shallow carving to make highlights and shadows pop, giving your pumpkin serious depth and character.
Take your time and don’t rush those cuts—forcing it usually ends in cracks or worse busted delicate bits of your pumpkin. If a section seems fragile I’ve found that smaller careful strokes with a fine blade do the trick nicely. Keep rotating your pumpkin regularly so you can reach every nook and cranny without awkward stretches. If you slip up no worries—try working that mistake into your design or patch it up using some extra pumpkin flesh.

Detailed carving process of a wolf pumpkin showing intricate cuts on fur and eyes.
Tips for Lighting and Display to Really Make Your Visuals Pop
Lighting your wolf pumpkin carving just right can really dial up its dramatic flair. LED lights offer a steady and reliable glow that’s safe and fuss-free while old-school candles bring a charming flicker and add a dash of mystery you just can’t fake.
- Use LED lights to keep the lighting steady without worrying about any pesky heat damage sneaking up on you
- Place the pumpkin away from breezy spots so those classic candles don’t decide to take an early nap
- Shine the light inward to really make the eyes and facial details pop like they’re telling a story
- Experiment with a few light sources together to add some depth and cast shadows that bring your pumpkin to life in the most charming way
Dial up the charm a notch by setting your carved pumpkin against something unexpected like faux fur or pine branches or moody moonlit decorations.
How to Keep Your Wolf Pumpkin Carving Looking Fresh for Longer
To help your wolf pumpkin carvings last longer, stash them in a cool dry spot and clean the surfaces quickly to keep mold at bay. Slapping on some pumpkin preservative and popping them in the fridge overnight usually keeps them firm and holds off early decay.
- Slather a bit of petroleum jelly or vegetable oil on the cut edges to help seal in moisture and keep them from drying out too fast
- Spritz with anti-fungal sprays or a diluted bleach solution to ward off mold
- Store your pumpkin in a cool, well-ventilated spot away from harsh sunlight
- Avoid overdoing the moisture and keep the pumpkin dry to slow down decay


